
I've never made jam before. I looked all over the internet, trying to find the "perfect" jam recipe. This is what I sound like talking to my computer as I look through recipes...
Not enough strawberries.
Too much sugar.
Pectin? I don't really want to deal with that.
Why aren't you using lemon juice? Lemon juice would be good.
Well we don't have that much rhubarb,
You have to do WHAT with the jars? Well that seems difficult.
Mannn, I don't have my candy thermometer with me.
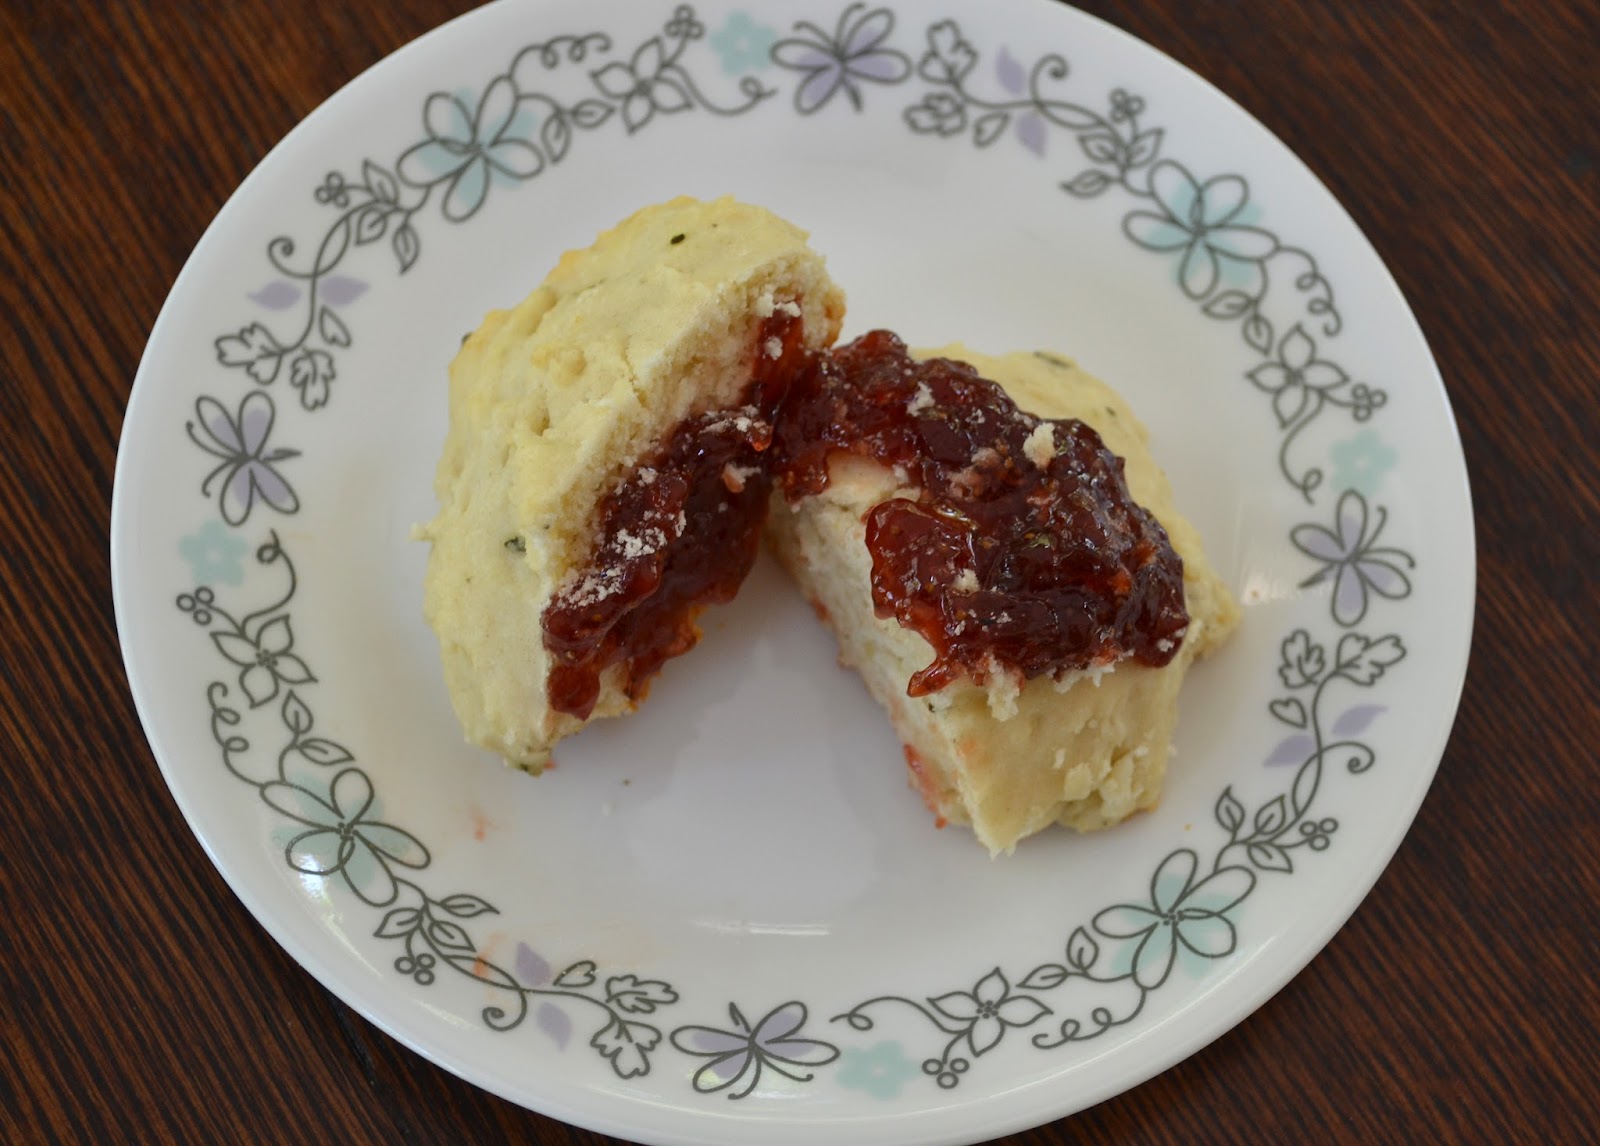
I finally decided that there wasn't going to be a perfect recipe to fit my needs. By the end of it I had read over 20-30 recipes and gotten the gist of the process. So, I took what I liked of each of those recipes and made a completely new one. And I think it turned out pretty well! Everyone liked it which is always a good sign. I may have overcooked mine a bit. It was ready after 35 minutes of cooking at a boil but I got nervous and let it go longer, so it turned out more like preserves which I was okay with. But I tasted it after 35 minutes and it was sooo good then too! I put this jam on literally everything. Remember those rosemary pepper scones I posted last week? The jam went on those for sure. I also had it on crackers, toast, english muffins, peanut butter and jelly sandwich, I don't even know what else. Simply delicious. This may not be the most traditional jam (i.e. no pectin and no processing/canning) but it certainly is the most delicious jam I've ever tried!

Ingredients:
3 cups strawberries, hulled, sliced and mashed
2 1/2 cups rhubarb, finely diced
5 cups sugar
2 tbsp lemon juice
1 pinch of salt
Directions:
In a large pot, mix together strawberries and rhubarb. Add the sugar, lemon juice, and salt and stir until the fruit is well coated. Cook over medium-high, stirring frequently, until the fruit comes to a rolling boil. Put a small plate in the freezer. Then reduce the heat a bit so that the fruit is still boiling but not so rapidly. Continue cooking for 30-40 minutes while continually scraping around the sides, checking that the bottom isn't burning and skimming off any foam.

You will know when the jam is ready when it passes the "wrinkle test" (Something I learned from David Lebovitz's blog). Take the small plate out of the freezer, place a little dollop of jam in the middle of the plate. Place in back in the freezer for a few minutes and take it back out. Nudge the jam with your finger. If it wrinkles when you do that, the jam is ready. If you have a candy thermometer, great. The jam should reach 220F. Take the jam off the heat and ladle into mason jars, cover and store in the refrigerator.
Notice I do not use pectin or process the jars at all because we plan on eating this jam rather quickly. If you do plan on doing that now would be the time. However, I have no experience in this area so I have no advice sorry!
No comments:
Post a Comment